Option 1 – Installing Free WordPress Plugins From Official Plugins Directory
There are more than 46 000 plugins in
WordPress.org plugins directory and all of them can be downloaded free of charge! Follow these easy steps in order to install plugins:
- Access your WordPress dashboard and navigate to Plugins section.
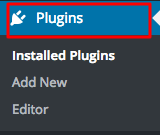
- Click on Add New button, it is located at the top of the page.

- You can browse plugins using Popular, Featured or Recommended tags which are located at the top of the page or use
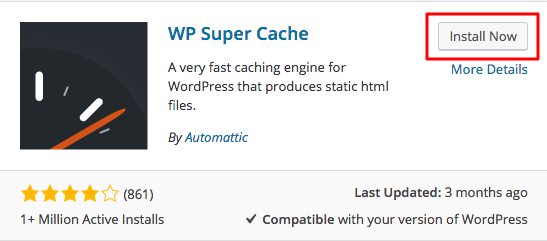
search field. If you already know what plugin you want to install, enter its name or related keyword into Search field and hit ENTER button. In our example we will install WP Super Cache Plugin – it helps speed up the WordPress blog.
- Now press Install button near the plugin you want to install.
- Newly installed plugins are deactivated by default. In order to proceed and activate the plugin, hit Activate button.
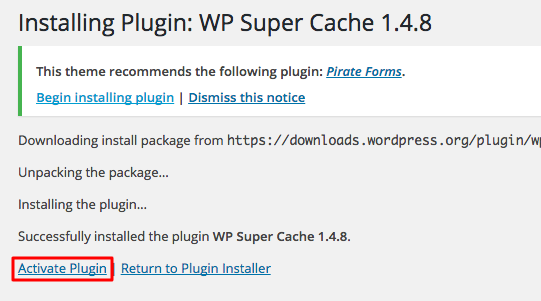
That’s it, you have just successfully installed and activated your first plugin!

Option 2 – Installing WordPress Plugins Manually
Official plugins directory is not the only place to download plugins. There are plenty of premium plugins directories as well, for example,
CodeCanyon offers more than 4 000 paid plugins. Before following the steps listed below, you should already have a plugin downloaded to your computer.
- Navigate to Plugins section and press Add New button.
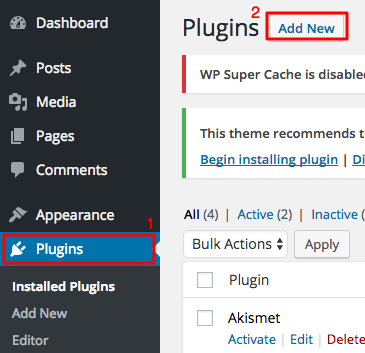
- Press Upload Plugin button.

- On a new page, you’ll be asked to upload a plugin archive. Press Choose File, select the plugin archive from your computer and hit Install Now button.

- In order to activate the plugin and finish installation process, press Activate.

Congratulations, you learned how to manually install a WordPress plugin.

Option 3 – Using FTP To Install WordPress Plugins.
Yet another way to install WordPress plugins is to use an FTP client or File Manager. It can help if your current hosting provider is limiting PHP upload size and you cannot install plugins via administrator dashboard. It is more complicated as some knowledge on how to use FTP or File Manager is required. Therefore, it’s not recommended for beginners. Steps listed below show how to upload a plugin using FTP client:
- Extract the plugin archive on your local computer.
- Connect to your hosting account using FTP client and navigate to WordPress directory. In our example, WordPress is installed on public_html.
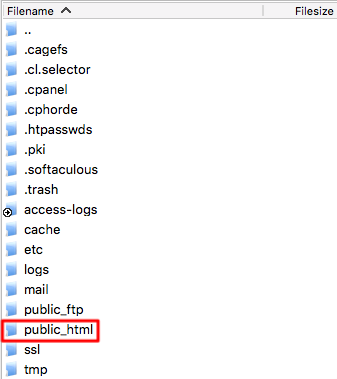
- Navigate to wp-content.

- Open plugins folder.
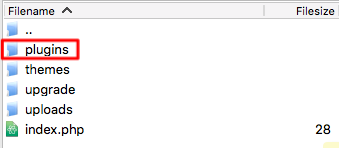
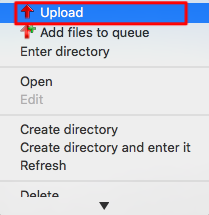
- Upload extracted plugin folder directly to plugins folder.
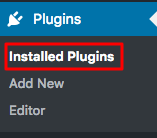
- Login to WordPress administrator dashboard and navigate to Installed Plugins section.
- You need to manually activate uploaded plugin. Press Activate button in order to proceed.

That’s it! You should see a green success message at the top of the page.

Conclusion
By finishing this tutorial you learned 3 different ways to install WordPress plugins. Go ahead and add new features to your blog. Customization possibilities are almost unlimited with thousands of free and premium WordPress plugins.


Comments
Post a Comment